About The Project
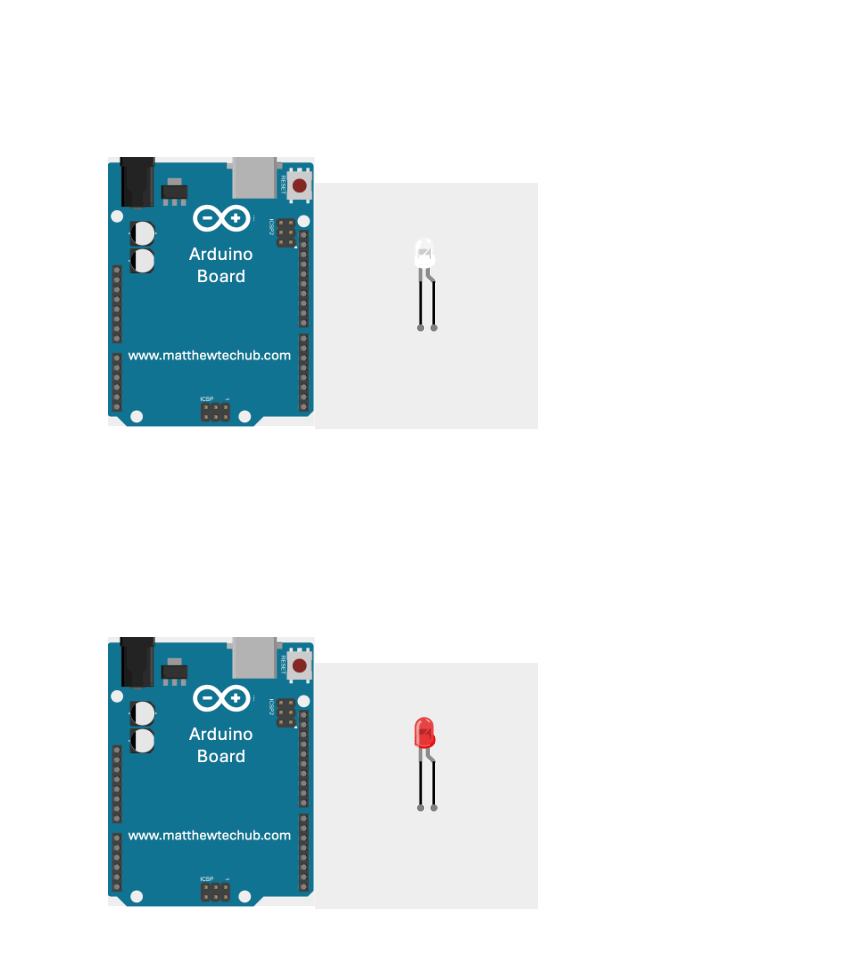
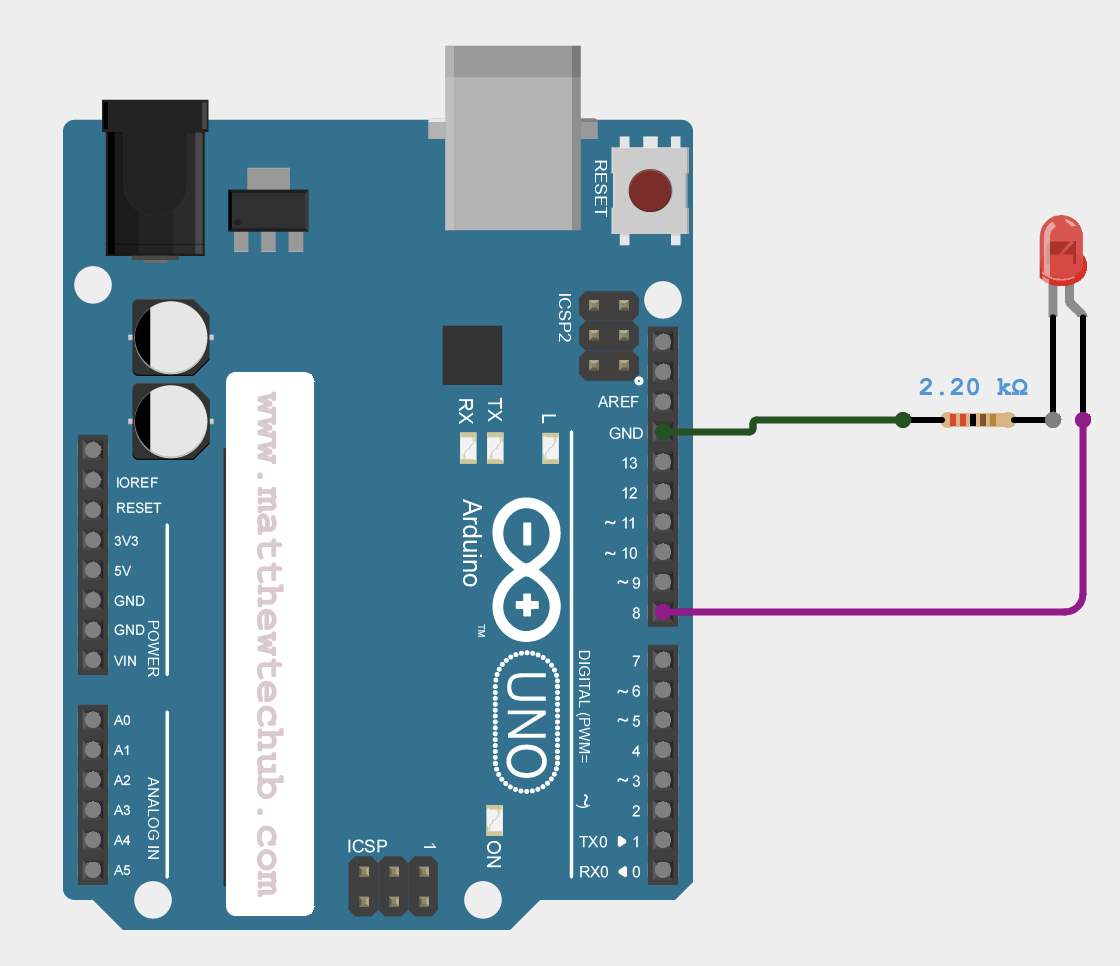
In this project, we’re learning how to connect an LED to an Arduino Uno board (Blinking LED).

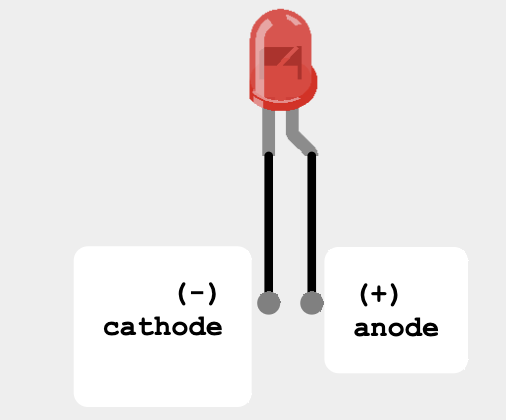
LED
An LED glows when the voltage at the anode becomes positive relative to the voltage at the cathode.

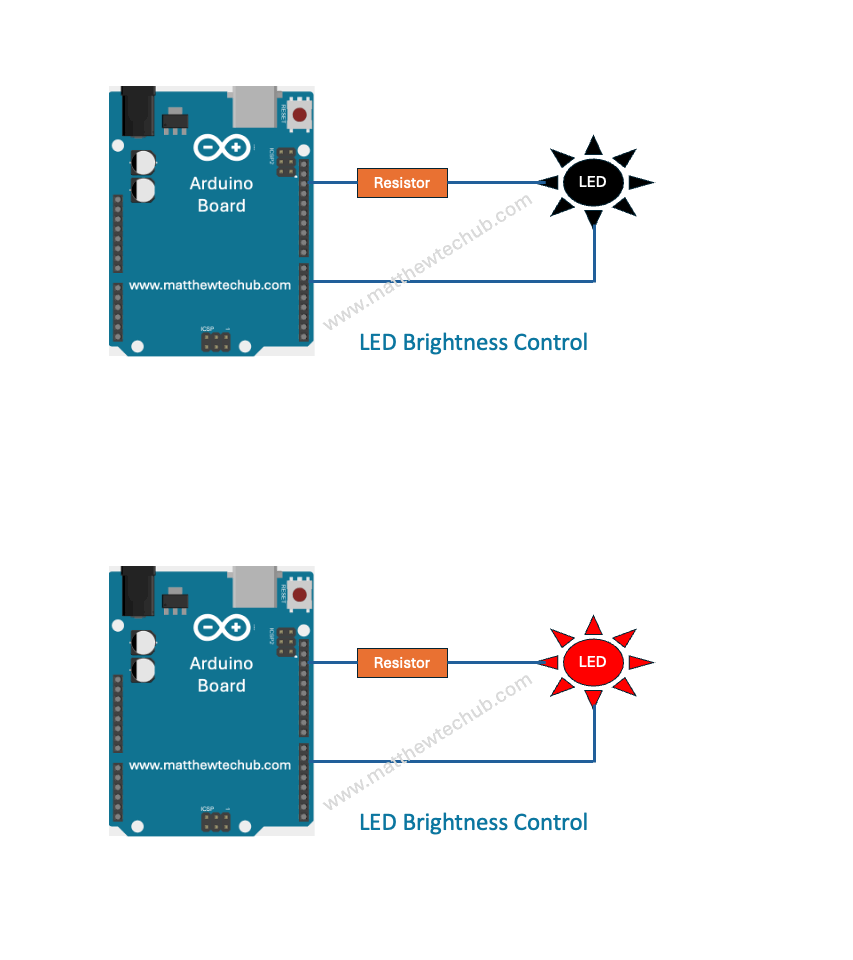
Resistor
A resistor is used in series with an LED to limit the current flowing through the LED and prevent it from being damaged due to excessive current.

Program Code
/*

www.matthewtechub.com


This code is used to blink an LED.

Speed 1000 milli seconds


*/


// variable declaration


int ledPin=8;


// the setup function runs once.


void setup() {

  // initialize ledPin as an output pin.

  pinMode(ledPin, OUTPUT);


}


// the loop function runs repeatedly.

void loop() {

  digitalWrite(ledPin, HIGH);  // turn the LED on (HIGH is the voltage level)

  delay(1000);                      // wait for a second

  digitalWrite(ledPin, LOW);   // turn the LED off by making the voltage LOW

  delay(1000);                      // wait for a second

}Code Explanation
int ledPin=8;
Declares an integer variable named ledPin and assigns it the value of 8. This means that the LED is connected to digital pin 8 on the Arduino board.
pinMode(ledPin, OUTPUT);
Configures pin 8 (ledPin) to be an output pin, allowing the Arduino to control the voltage on this pin, which in turn can control an LED connected to it.
digitalWrite(ledPin, HIGH);
Sets pin 8 (ledPin) to a HIGH voltage level, which can turn on an LED connected to that pin.
digitalWrite(ledPin, LOW);
Resets pin 8 (ledPin) to a LOW voltage level, which can turn off an LED connected to that pin.
delay(1000);
Pauses the execution of the program for 1 second. This is useful for creating timed delays in the program, such as waiting for a second before performing the next action (turning an LED on or off).
Modify Yourself
- Change delay(1000) to delay(500) and observe the result. Do you notice that the speed of the blinking action has increased?
- Reconnect the LED to another digital I/O pin of the Arduino Uno board and make the corresponding changes in the program.

