About The Project
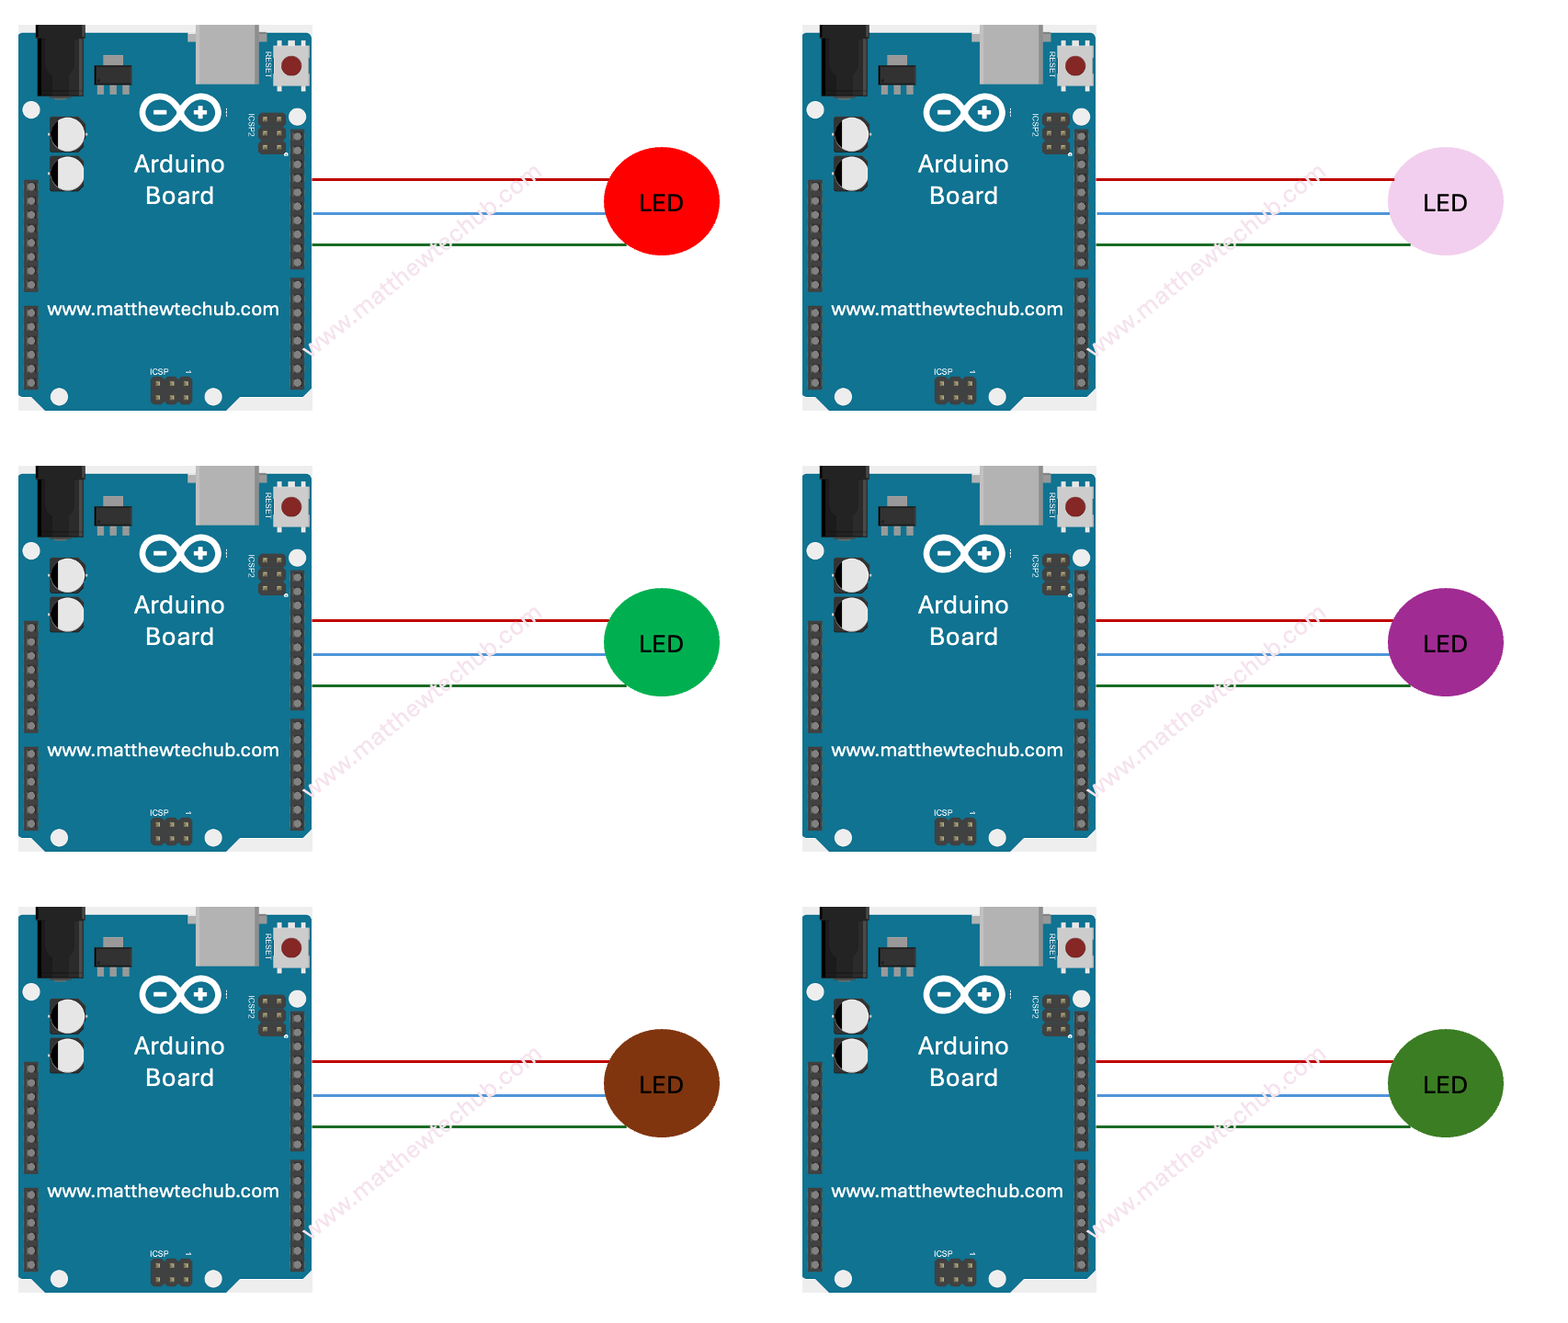
In this project, we are learning how to interface a multi-colour LED with an Arduino Uno board and display various colours.
Circuit Wiring
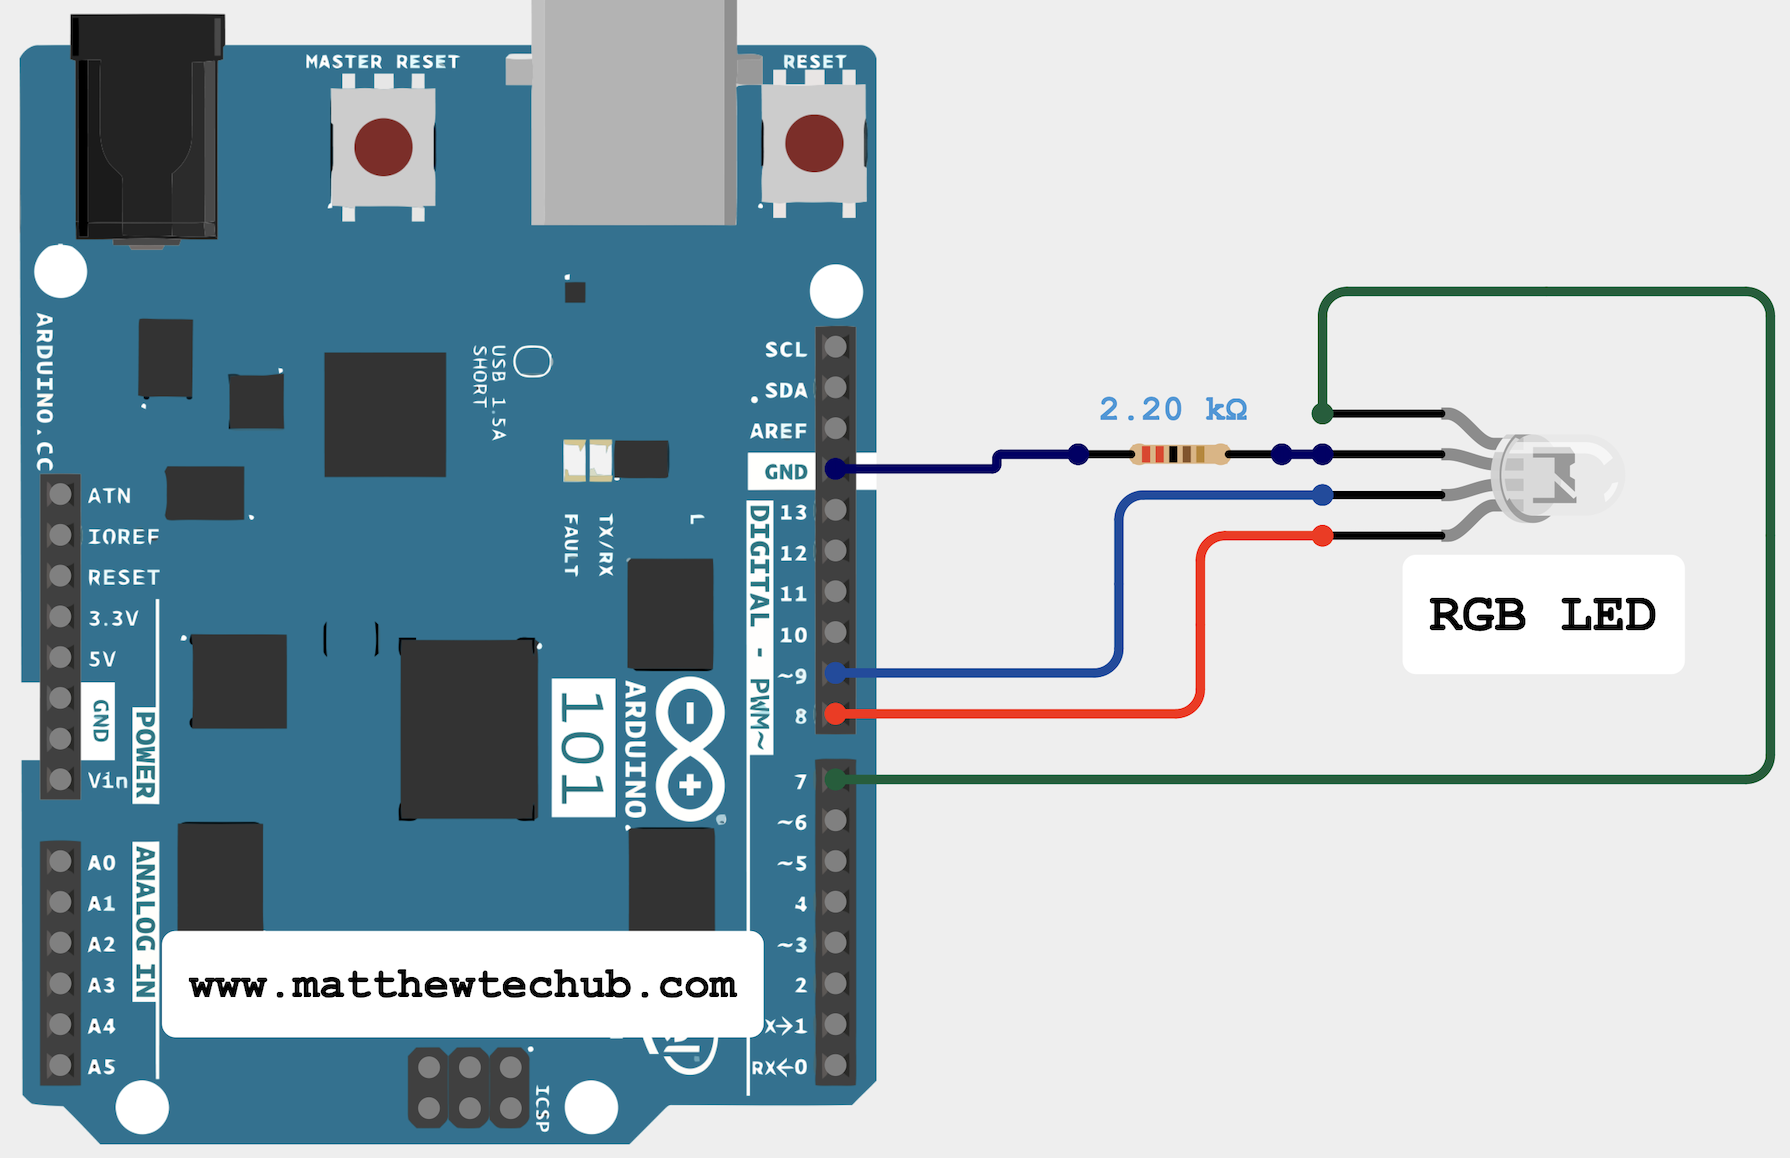
`ledPinR`, `ledPinG`, and `ledPinB` are assigned to pins 7, 8, and 9 respectively for the red, green, and blue channels of the RGB LED. `Rvalue`, `Gvalue`, and `Bvalue` are used to store the brightness levels for each colour channel.
Program Code
/* multi colour display
www.matthewtechub.com
*/
int ledPinR = 7;
int ledPinG = 8;
int ledPinB = 9;
int Rvalue=0;
int Gvalue=0;
int Bvalue=0;
// The setup routine runs once
void setup() {
// declare ledPin-an output:
pinMode(ledPinR, OUTPUT);
pinMode(ledPinG, OUTPUT);
pinMode(ledPinB, OUTPUT);
}
// the loop routine runs repeatedly
void loop() {
// set the brightness of pin 9:
analogWrite(ledPinR , Rvalue);
analogWrite(ledPinG, Gvalue);
analogWrite(ledPinB, Bvalue);
Bvalue=Bvalue+2;
if(Bvalue>=255)
Bvalue=0;
Gvalue=Gvalue+2;
if(Gvalue>=255)
Gvalue=0;
Rvalue=Rvalue+2;
if(Rvalue>=255)
{
Rvalue=0;
}
delay(50);
}
Code Explanation
int ledPinR = 7;
int ledPinG = 8;
int ledPinB = 9;
int Rvalue=0;
int Gvalue=0;
int Bvalue=0;
- `ledPinR`, `ledPinG`, and `ledPinB` are set to pins 7, 8, and 9 respectively for the red, green, and blue channels of the RGB LED.
- `Rvalue`, `Gvalue`, and `Bvalue` are initialized to 0 to store the brightness levels for the red, green, and blue channels.
pinMode(ledPinR, OUTPUT);
pinMode(ledPinG, OUTPUT);
pinMode(ledPinB, OUTPUT);
pinMode sets the RGB LED pins as outputs.
void loop() {
// set the brightness of pin 9:
analogWrite(ledPinR , Rvalue);
analogWrite(ledPinG, Gvalue);
analogWrite(ledPinB, Bvalue);
Bvalue=Bvalue+2;
if(Bvalue>=255)
Bvalue=0;
Gvalue=Gvalue+2;
if(Gvalue>=255)
Gvalue=0;
Rvalue=Rvalue+2;
if(Rvalue>=255)
Rvalue=0;
delay(50);
}
- `analogWrite` sets the brightness of each colour channel based on `Rvalue`, `Gvalue`, and `Bvalue`.
- Each colour value (`Rvalue`, `Gvalue`, `Bvalue`) is incremented by 2 in each loop iteration.
- If any colour value reaches or exceeds 255, it is reset to 0 to create a continuous loop of colour changes.
- `delay(50)` creates a 50 millisecond pause between iterations, controlling the speed of colour transitions.
Modify Yourself
Modify the program to change the colour sequence by pressing a button switch each time.

