About The Project
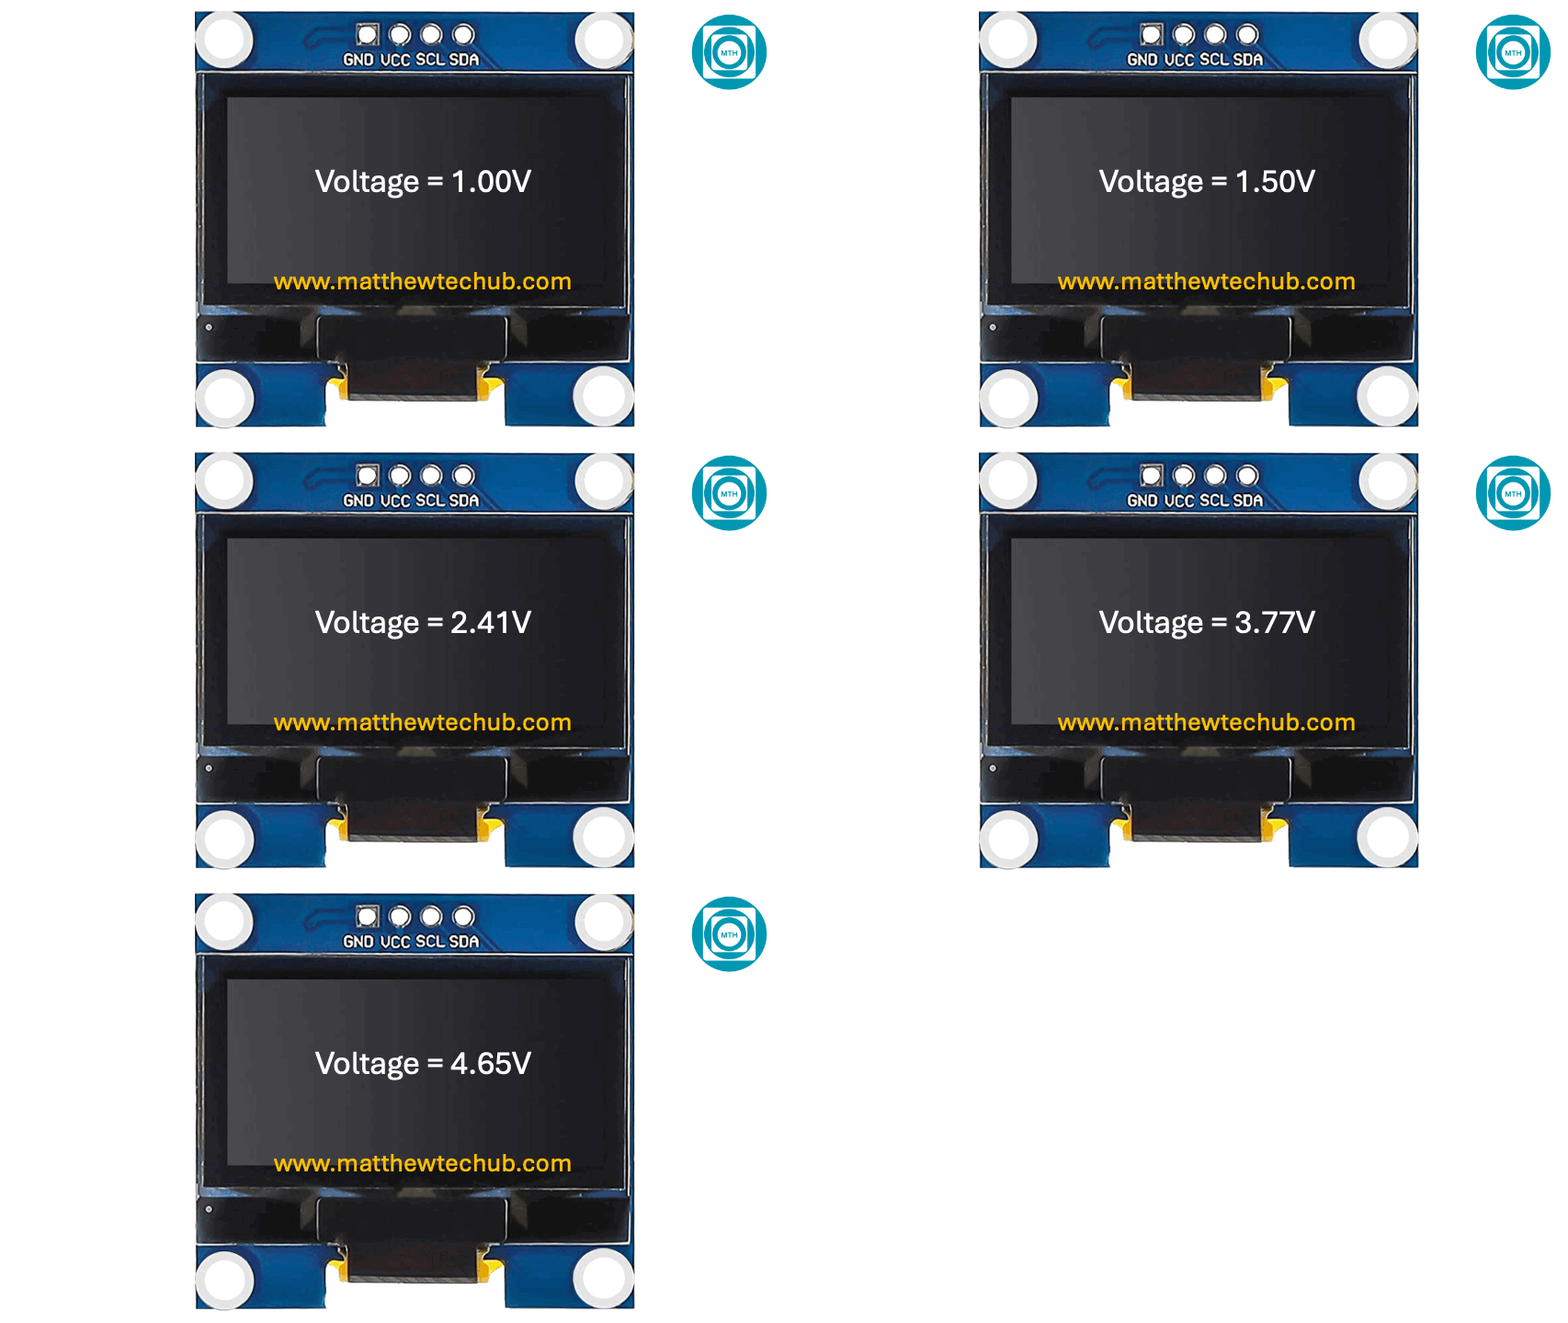
In this project, we will learn how to measure the voltage across a potentiometer and display the measured value on an OLED screen.
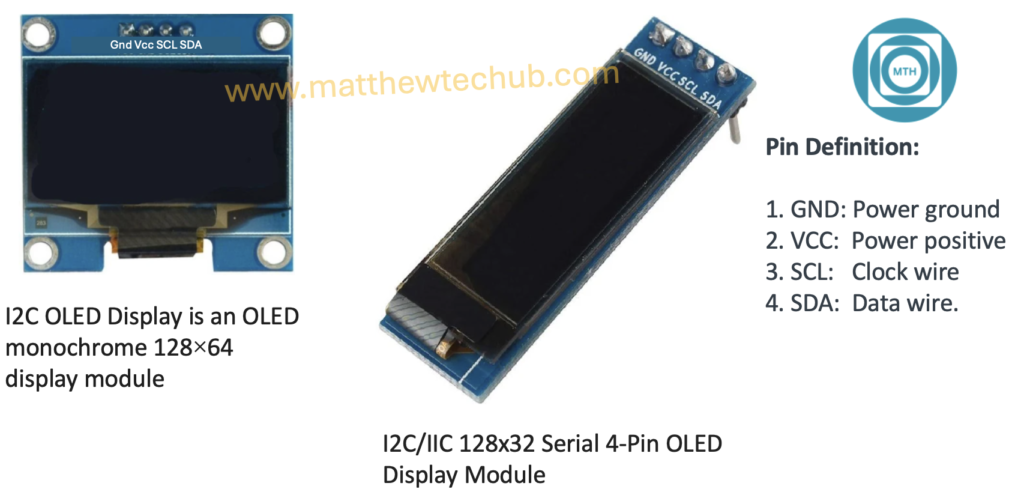
OLED
An OLED (Organic Light Emitting Diode) display is a type of screen technology that uses organic compounds to produce light when an electric current is applied. OLED displays are known for their high contrast ratios, vibrant colours, and the ability to be very thin and flexible. They are commonly used in smartphones, TVs, wearable devices, and various electronics projects.

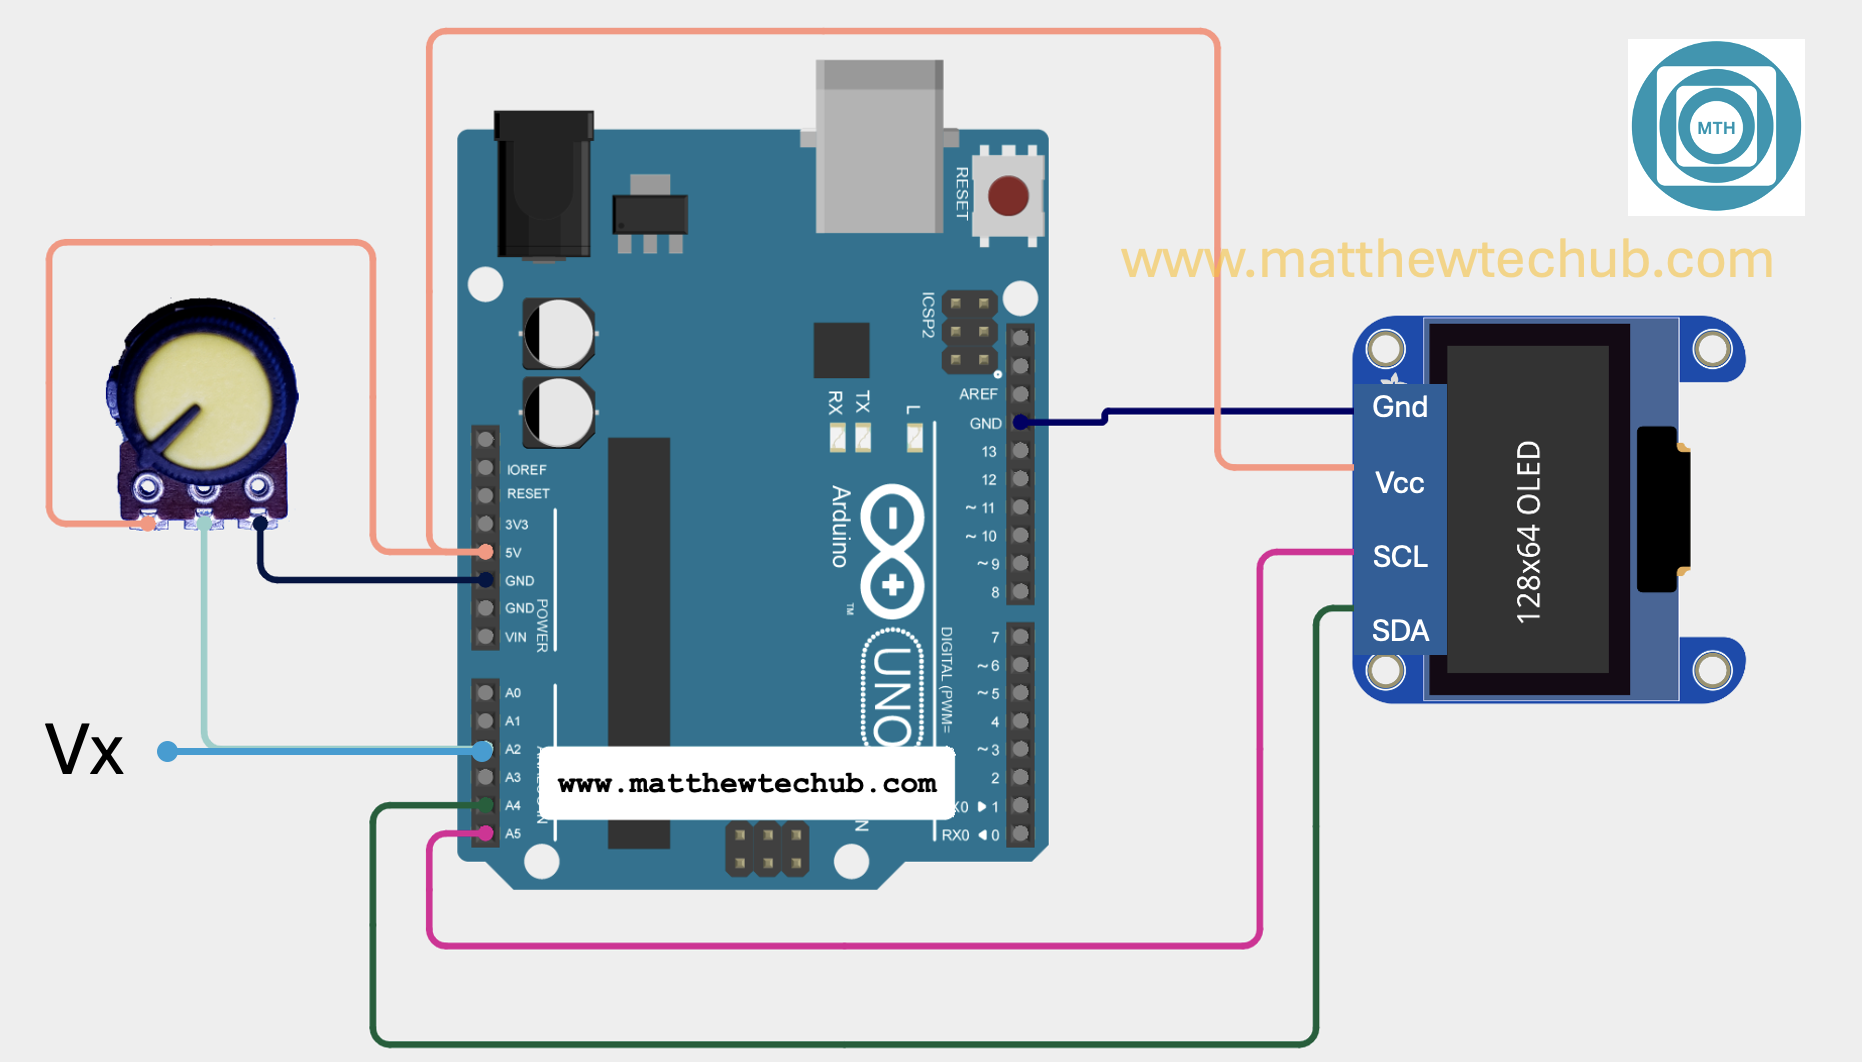
Circuit Wiring
The circuit and program are designed in such a way that the voltage at the terminal ‘Vx’ is continuously measured and displayed on an OLED.
Add the OLED Library
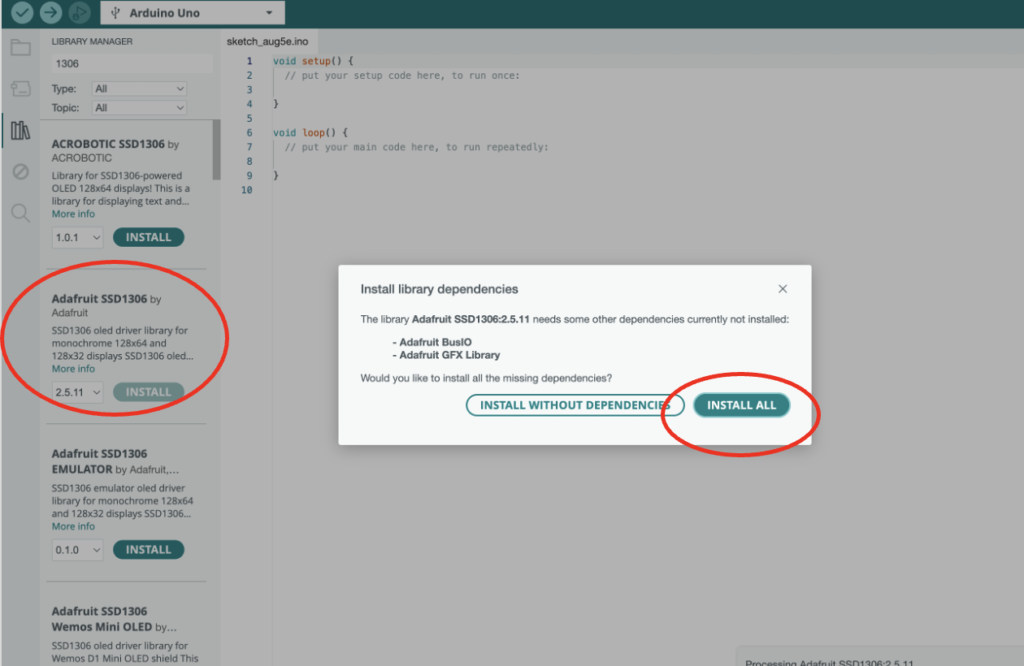
To use the OLED display with your Arduino, you need to install the necessary libraries and include their header files in your code.
Install the Adafruit GFX Library:
- Search for Adafruit GFX in the Library Manager.
- Find the Adafruit GFX library by Adafruit and click Install.
Program Code
// www.matthewtechub.com
// OLED- voltmeter(0-5 V)

#include <Wire.h>
#include <Adafruit_GFX.h>
#include <Adafruit_SSD1306.h>

#define SCREEN_WIDTH 128 // OLED display width, in pixels
#define SCREEN_HEIGHT 64 // OLED display height, in pixels

Adafruit_SSD1306 oled(SCREEN_WIDTH, SCREEN_HEIGHT, &Wire, -1); // create SSD1306 display object connected to I2C

int analogPin = A2;
int value;
float voltage;

void setup() {
  pinMode(analogPin, INPUT);
  Serial.begin(9600);

  // initialize OLED display with address 0x3C for 128x64
  if (!oled.begin(SSD1306_SWITCHCAPVCC, 0x3C)) {
    Serial.println(F("SSD1306 allocation failed"));
    while (true);
  }

  delay(2000);         // wait for initializing
  oled.clearDisplay(); // clear display
  oled.setTextSize(2); // text size
  oled.setTextColor(WHITE); // text color
}

void loop() {
  value = analogRead(analogPin);
  voltage = (float)value * 5 / 1024;
  delay(500);

  Serial.print("Voltage= ");
  Serial.println(voltage);

  oled.clearDisplay();    // clear display
  oled.setCursor(0, 10);  // set cursor position
  oled.print("Voltage: "); // print label
  oled.print(voltage);    // print voltage value
  oled.print(" V");       // print unit
  oled.display();         // show on OLED
};Code Explanation
#include <Wire.h>
#include <Adafruit_GFX.h>
#include <Adafruit_SSD1306.h>

#define SCREEN_WIDTH 128 // OLED display width, in pixels
#define SCREEN_HEIGHT 64 // OLED display height, in pixels

Adafruit_SSD1306 oled(SCREEN_WIDTH, SCREEN_HEIGHT, &Wire, -1); // create SSD1306 display object connected to I2C
- Libraries are necessary for I2C communication with the OLED and for handling the graphics on the display.
- Define the dimensions of the OLED display.
- Creates an oled object for the SSD1306 display, specifying its width, height, and I2C communication.
int analogPin = A2;
int value;
float voltage;
- analogPin is set to A2, where the voltage will be read.
- value will store the raw analog read value.
- voltage will store the calculated voltage.
void setup() {
  pinMode(analogPin, INPUT);
  Serial.begin(9600);

  if (!oled.begin(SSD1306_SWITCHCAPVCC, 0x3C)) {
    Serial.println(F("SSD1306 allocation failed"));
    while (true);
  }

  delay(2000);
  oled.clearDisplay();
  oled.setTextSize(2);
  oled.setTextColor(WHITE);
}
- pinMode(analogPin, INPUT);: Sets the analog pin A2 as an input.
- Serial.begin(9600);: Starts serial communication at 9600 baud rate.
- oled.begin(SSD1306_SWITCHCAPVCC, 0x3C);: Initializes the OLED display with the I2C address 0x3C.
- If initialization fails, it prints an error message and stops the program.
- delay(2000);: Waits for 2 seconds to allow the display to initialize.
- oled.clearDisplay();: Clears the display buffer.
- oled.setTextSize(2);: Sets the text size.
- oled.setTextColor(WHITE);: Sets the text colour to white.
void loop() {
  value = analogRead(analogPin);
  voltage = (float)value * 5 / 1024;
  delay(500);

  Serial.print("Voltage= ");
  Serial.println(voltage);

  oled.clearDisplay();
  oled.setCursor(0, 10);
  oled.print("Voltage: ");
  oled.print(voltage);
  oled.print(" V");
  oled.display();
}- value = analogRead(analogPin);: Reads the analog value from pin A2.
- voltage = (float)value * 5 / 1024;: Converts the analog read value to a voltage (0-5V).
- delay(500);: Waits for 500 milliseconds.
- Prints the voltage value to the Serial Monitor.
- Clears the display buffer.
- Sets the cursor position.
- Prints the voltage label and value on the OLED.
- Updates the display with the new content.
With this setup and code, the Arduino will continuously read the voltage from the analog pin and display the value on the OLED screen while also printing it to the Serial Monitor.
Try Your Self
Try to measure temperature, humidity, and distance, and display those values on an OLED screen.


